AWS Management Consoleはとても良く出来ていて、管理資料なんか無くても良いくらいです。
Windows使うことも無くなり、EXCEL開く回数も激減したのですが、それでもEXCELと一緒に社会人としての人生を生きてきているので、どうしてもあの表形式から離れられません。
今会社はExcelよりもGoogleドキュメントの方が良く使うので、そちらにEC2のリストを取得するスクリプトを書いてみました。
準備
AWSとGoogle Docsそれぞれの連携用のGemをインストールします。
gem install aws-sdk
gem install google_drive
スクリプト(Ruby)準備
以下のRubyスクリプトを適当なフォルダに配置します。名前も任意でOKです。
require 'aws-sdk'
require 'google_drive'
require 'yaml'

def select_tag_value_by_key(instance,key)
    tag = instance[:tags].select{|t| t.key == key}.first
    return tag.nil? ? "-" : tag.value
end

def format_volume_string(instance,key)
    vols = ""
    instance[:block_device_mappings].each { |d| vols << "#{d.device_name}:#{d.ebs.volume_id}#{10.chr}" }
    return vols.chop
end

def get_private_ip(instance,key)
    private_ips = ""
    instance[:network_interfaces].each { |ip| private_ips << "#{ip.private_ip_address}#{10.chr}"}
    return private_ips.chop
end

def get_iam_role(instance,key)
    if instance[:iam_instance_profile]
        return iam_role = instance[:iam_instance_profile].arn.match( /^arn:aws:iam::\d{12}:.*\/(.*)$/)[1]
    else
        return "-"
    end
end

def get_instance_status(instance,key)
    return instance[:state].name
end

configfile = "#{File.expand_path(File.dirname(__FILE__))}/ec2list_config.yml"
google_key_file = "#{File.expand_path(File.dirname(__FILE__))}/google_key.json"

#Read Config
config = YAML::load_file(configfile)

#AWS
cred = Aws::Credentials.new(
  config['aws']['access_key'],
  config['aws']['secret_key']
)
Aws.use_bundled_cert!
cli = Aws::EC2::Client.new(credentials: cred, region: config['aws']['region'])
instances = cli.describe_instances['reservations'].map {|i| i.instances}

#Google Doc
session = GoogleDrive.saved_session(google_key_file)
book_id = config['google_drive']['book_id']
sheet_id = config['google_drive']['sheet_id']
ws = session.spreadsheet_by_key(book_id).worksheet_by_gid(sheet_id)

# Write Header
col_num = 1
row_num = 1
sheet_definitions = config['google_drive']['columns']
sheet_definitions.each do |sd|
    ws[row_num,col_num] = sd['col_name']
    col_num += 1
end
ws[1,col_num] = "Last Updated Time"

# Write Data
row_num += 1
instances.map { |instance_info| instance_info.first }.each do |instance|
    col_num = 1
    sheet_definitions.each do |sd|
        if sd['method']
            ws[row_num, col_num] = send(sd['method'],instance,sd['key'])
        else
            ws[row_num, col_num] = instance[sd['key']]
        end
        col_num += 1
    end
    ws[row_num, col_num] = Time.now.to_s
    row_num += 1
end
ws.save
ws.reload
Google ドキュメントの認証情報
スクリプトと同一フォルダにgoogle_key.jsonという名前で認証情報を配置します。
必要なのはクライアントIDとクライアントシークレットの二つです。
キーの取得の方法はこのページの後半に記載してます。
{
  "client_id": "client_idを入力",
  "client_secret": "client_secretを入力"
}
設定ファイル準備
AWSの認証情報の他にGoogleスプレッドシートのIDを指定します。
適当にGoogleスプレッドシート作るとわかるのですが、スプレッドシートはURLに示されている2つのIDで特定できます。
ここでは赤枠をbook_id青枠をsheet_idということにして設定を行います。

設定ファイルはec2list_config.ymlという名前でスクリプトと同じフォルダにおいてください。
columnsの項目順序が、そのままスプレッドシートの列の出力順序になります。
---
aws:
  access_key: [aws access key]
  secret_key: [aws secret key]
  region: ap-northeast-1
google_drive:
  book_id: 1oMhfbEX67twiFQiyo9UOEVXqfGAhF087o9kAe1LaCas
  sheet_id: 1342314053
  columns:
  - col_name: Name
    key: Name
    method: select_tag_value_by_key
  - col_name: Instance Id
    key: instance_id
  - col_name: Instance Type
    key: instance_type
  - col_name: VPC
    key: vpc_id
  - col_name: Subnet
    key: subnet_id
  - col_name: Subnet
    key: subnet_id
  - col_name: Private IP
    key: nil
    method: get_private_ip
  - col_name: Public IP
    key: public_ip_address
  - col_name: EBS Volumes
    key: nil
    method: format_volume_string
  - col_name: IAM Role
    key: nil
    method: get_iam_role
  - col_name: Status
    key: nil
    method: get_instance_statu
実行してみる
スクリプトを実行してみると、以下のようなメッセージで止まると思います。ここからOAuthの認証を行います。
1. Open this page:
https://accounts.google.com/o/oauth2/auth?access_type=offline&client_id=111112222233333-aaaabbbbccc1234.apps.googleusercontent.com&redirect_uri=urn:ietf:wg:oauth:2.0:oob&response_type=code&scope=https://www.googleapis.com/auth/drive%20https://spreadsheets.google.com/feeds/

2. Enter the authorization code shown in the page:
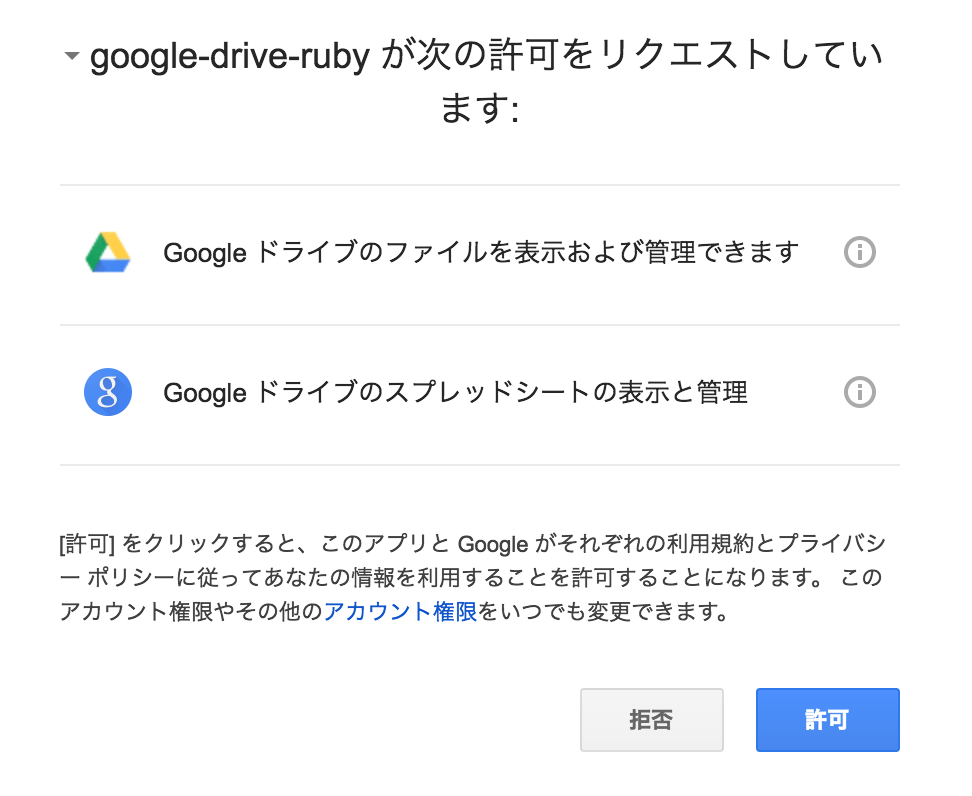
表示されているURLにブラウザでアクセスするとGoogle Driveのスプレッドシートへのアクセス許可を求める画面に切り替わります。
許可をするとauthorization codeが表示されるので、先ほどの
2. Enter the authorization code shown in the page:
に入力します。
google_key.jsonが更新されてscopeとrefresh_tokenが追加されました。
{
  "client_id": "クライアントID",
  "client_secret": "クライアントシークレット",
  "scope": [
    "https://www.googleapis.com/auth/drive",
    "https://spreadsheets.google.com/feeds/"
  ],
  "refresh_token": "リフレッシュトークン"
}
これで認証も終わったので、スクリプトを実行すると、指定したSpreadSheetに以下のようにEC2のリストが書き込まれるはずです。

セルの色やフォント等を適当に整形すれば完成です。次回更新の際には値だけが更新されるので整形したものは崩れません。
後はスケジュール実行などで定期的に流せば完了です。
【補足】Google認証情報の取得方法
必要なのは
クライアントIDとクライアントシークレットの二つです。
と書いた通り、この二つのキーを取得します。
まずは対象のスプレッドシートに書き込み権限のあるGoogleアカウントを準備します。
以下のアドレスにアクセスします。
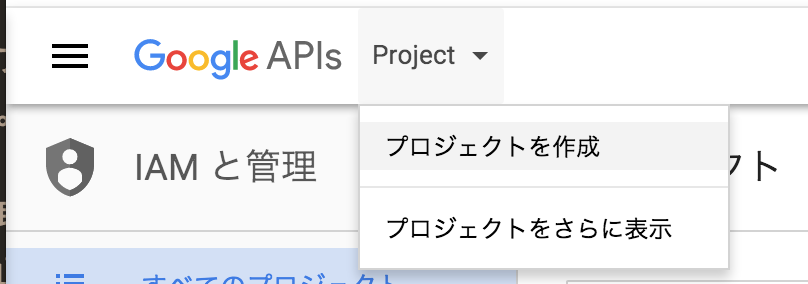
プロジェクトを作成します。
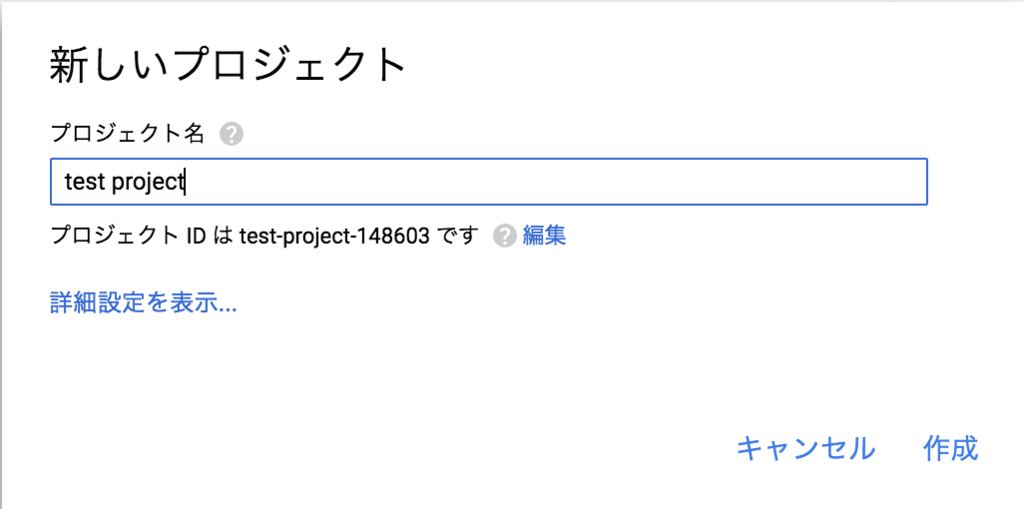
適当な名前を入力して作成します。
作成したプロジェクトが一覧に表示されるので中に入ります。
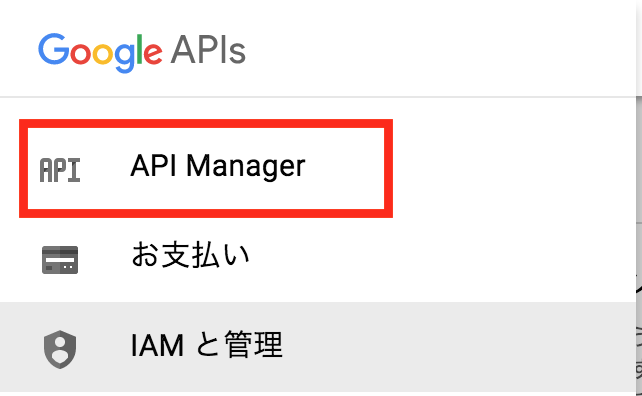
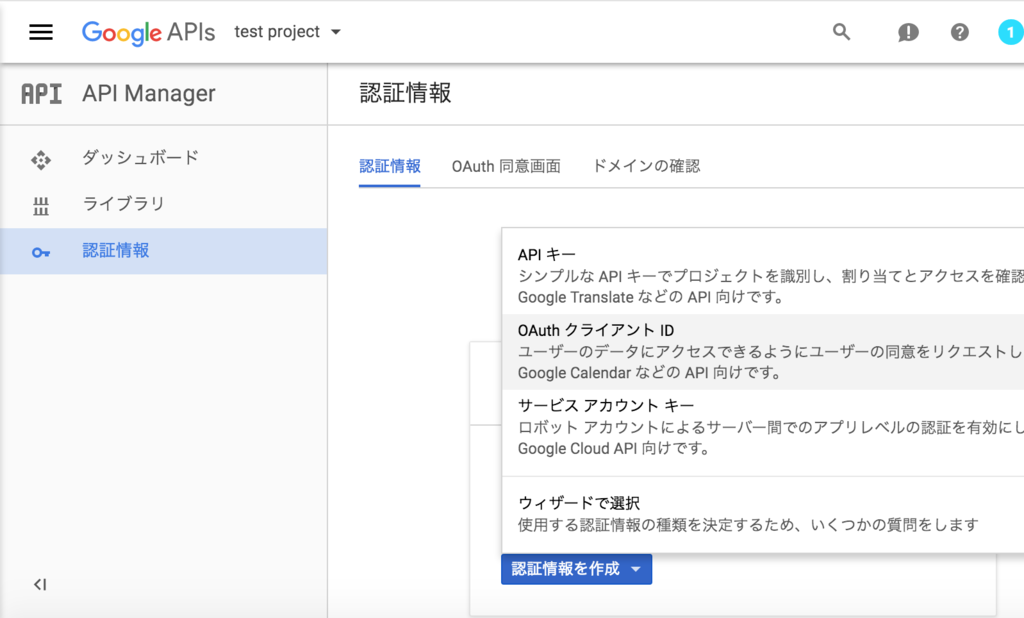
左上のメニューからAPI Managerを選択します。
APIの認証情報を作成していきます。選択するのはOAuthです。
クライアントIDはその他として任意の名前を入力し作成します。
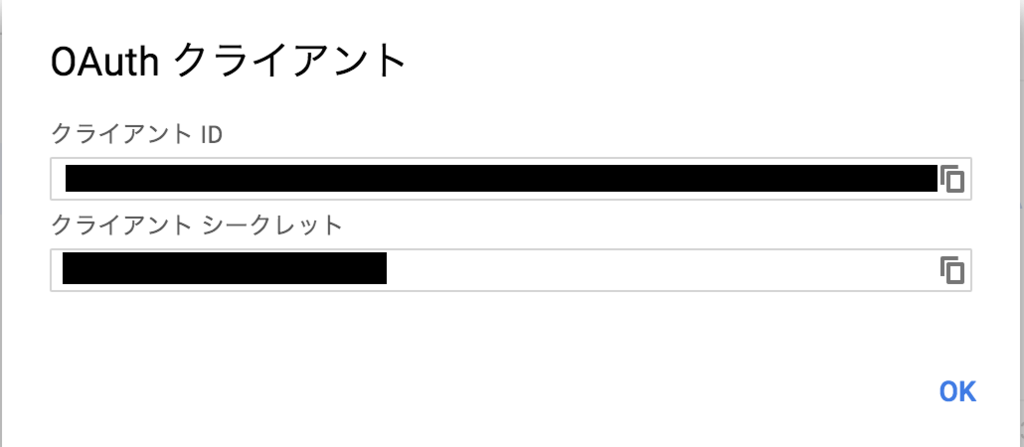
これで必要だったクライアントIDとクライアントシークレットが手に入ります。取得した情報の扱いは要注意です。
