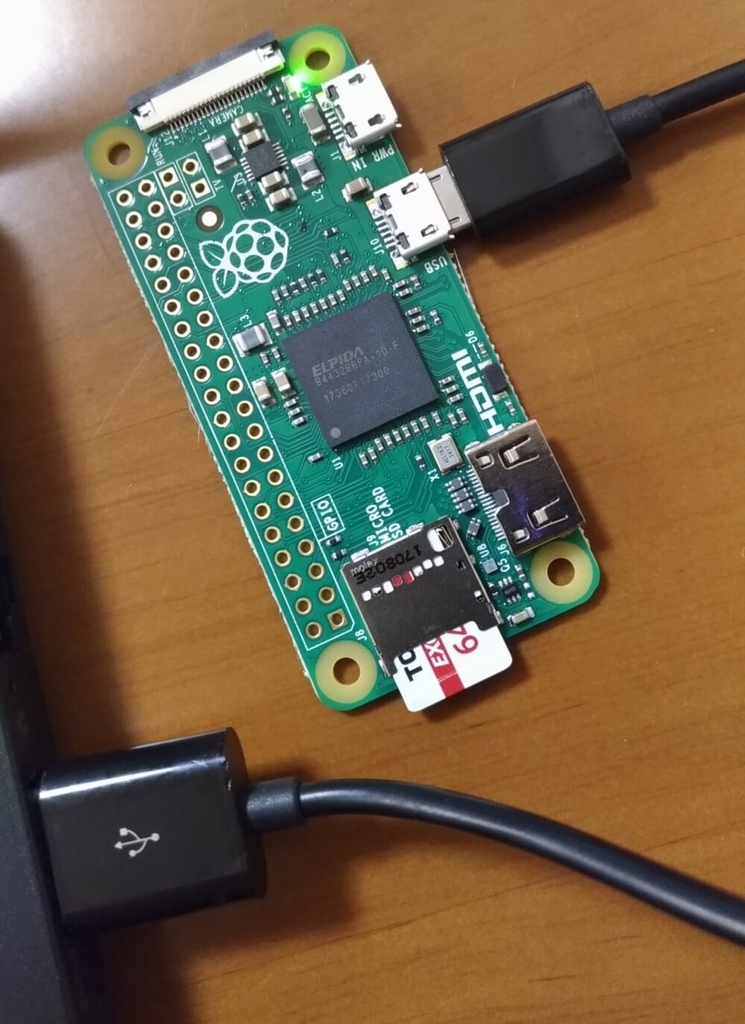
Raspberry Pi Zero v1.3はWifiが無いので少し面倒かなと思っていたのですが、USBケーブルだけでPCと接続できるのでWifiすらいらないという意味で逆に便利です。
そして、送料合わせても約800円で購入できます。
そんな、Raspberry Pi Zeroの初期設定手順です。私のPCはUbuntuなのでWindowsやMacはまた別の手順です。
EtcherなどでRaspbianをMicro SDに焼いた後の手順を書きます。
初期設定
Micro SDカードをPCに指したまま設定をしていきます。
dtoverlay=dwc2 を config.txt に追記します。
$ echo "dtoverlay=dwc2" >> /media/youruser/boot/config.txt
$ tail  /media/youruser/boot/config.txt
#dtparam=spi=on

# Uncomment this to enable the lirc-rpi module
#dtoverlay=lirc-rpi

# Additional overlays and parameters are documented /boot/overlays/README

# Enable audio (loads snd_bcm2835)
dtparam=audio=on
dtoverlay=dwc2
cmdline.txt に modules-load=dwc2,g_ether を追加。
$ diff -u /media/youruser/boot/cmdline.txt{.org,}
--- /media/youruser/boot/cmdline.txt.org  2018-06-27 10:22:30.000000000 +0900
+++ /media/youruser/boot/cmdline.txt      2018-09-12 22:43:43.000000000 +0900
@@ -1 +1 @@
-dwc_otg.lpm_enable=0 console=serial0,115200 console=tty1 root=PARTUUID=bd98648d-02 rootfstype=ext4 elevator=deadline fsck.repair=yes rootwait quiet init=/usr/lib/raspi-config/init_resize.sh splash plymouth.ignore-serial-consoles
+dwc_otg.lpm_enable=0 console=serial0,115200 console=tty1 root=PARTUUID=bd98648d-02 rootfstype=ext4 elevator=deadline fsck.repair=yes rootwait modules-load=dwc2,g_ether quiet init=/usr/lib/raspi-config/init_resize.sh splash plymouth.ignore-serial-consoles
ssh という名前の空ファイルを作成。
$ touch /media/youruser/boot/ssh
PCにUSB接続
真ん中のMicro USBの穴をPCに繋ぎます。
dmesg 眺めてるとRaspberry Pi側のOS起動後に interface名: link is not ready が出てくるはずです。デバイス名は enp0s20f0u9 です。
$ dmesg
----
# 省略
----
[97356.223722] cdc_ether 1-9:1.0 usb0: register 'cdc_ether' at usb-0000:00:14.0-9, CDC Ethernet Device, 8e:a9:8f:fb:ec:b8
[97356.223780] usbcore: registered new interface driver cdc_ether
[97356.224249] usbcore: registered new interface driver cdc_subset
[97356.230602] cdc_ether 1-9:1.0 enp0s20f0u9: renamed from usb0
[97356.261758] IPv6: ADDRCONF(NETDEV_UP): enp0s20f0u9: link is not ready
Network設定
Network Managerで設定していきます。
取得したInterface名に設定する接続プロファイルを作成して、ipv4.method shared を設定します。
$ nmcli c add type ethernet con-name raspi-usb ifname enp0s20f0u9
$ nmcli c modify raspi-usb ipv4.method shared
$ nmcli c up raspi-usb
繋がりました。
$ nmcli d show enp0s20f0u9
GENERAL.DEVICE:                         enp0s20f0u9
GENERAL.TYPE:                           ethernet
GENERAL.HWADDR:                         5A:A6:1B:64:0B:1C
GENERAL.MTU:                            1500
GENERAL.STATE:                          100 (接続済み)
GENERAL.CONNECTION:                     raspi-usb
GENERAL.CON-PATH:                       /org/freedesktop/NetworkManager/ActiveConnection/52
WIRED-PROPERTIES.CARRIER:               オン
IP4.ADDRESS[1]:                         10.42.0.1/24
IP4.GATEWAY:                            --
IP4.ROUTE[1]:                           dst = 10.42.0.0/24, nh = 0.0.0.0, mt = 100
IP6.ADDRESS[1]:                         fe80::529c:e2f0:411c:56b7/64
IP6.GATEWAY:                            --
IP6.ROUTE[1]:                           dst = ff00::/8, nh = ::, mt = 256, table=255
IP6.ROUTE[2]:                           dst = fe80::/64, nh = ::, mt = 256
IP6.ROUTE[3]:                           dst = fe80::/64, nh = ::, mt = 100
Network ManagerはTerminal UIで操作すれば、コマンド覚えて無くてもGUIみたいな操作でもいけます。
$ nmtui
SSH接続
後はSSH接続するだけ。PC側のUbuntuを通してインターネットも繋がる状態です。
$ ssh -o PreferredAuthentications=password pi@raspberrypi.local
pi@raspberrypi.local's password:
この時点で以下のように、raspberrypi.localが繋がらない時はUSB抜き差ししてRaspberry Piを再起動してみたりします。
$ ssh pi@raspberrypi.local
ssh: Could not resolve hostname raspberrypi.local: Name or service not
known
繋がらなければ、arp-scan等でIP調べてしまうのも手です。
$ sudo arp-scan -I enp0s20f0u9 -l
所感
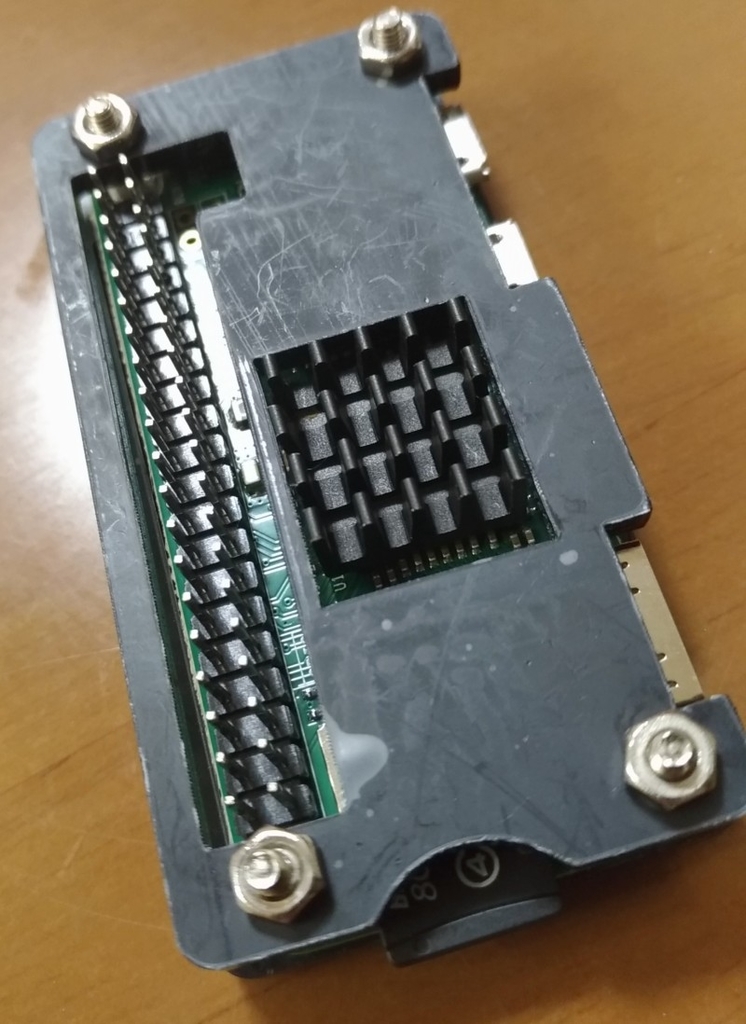
Amazonで適当なケース購入して、GPIOピンをはんだ付けしたところ。USBメモリ的に持ち歩ける軽さで、PCのUSBポート指すだけでLinux環境を得られるとは、ガジェット好きとしては所有欲みたいなのが満たされます。
それにしても、小さくてかわいい。でも、Raspi Zero見ながら「かわいい」を連呼していたら嫁に変な目で見られました・・

