こちらを動かしてみたのでメモしておきます。
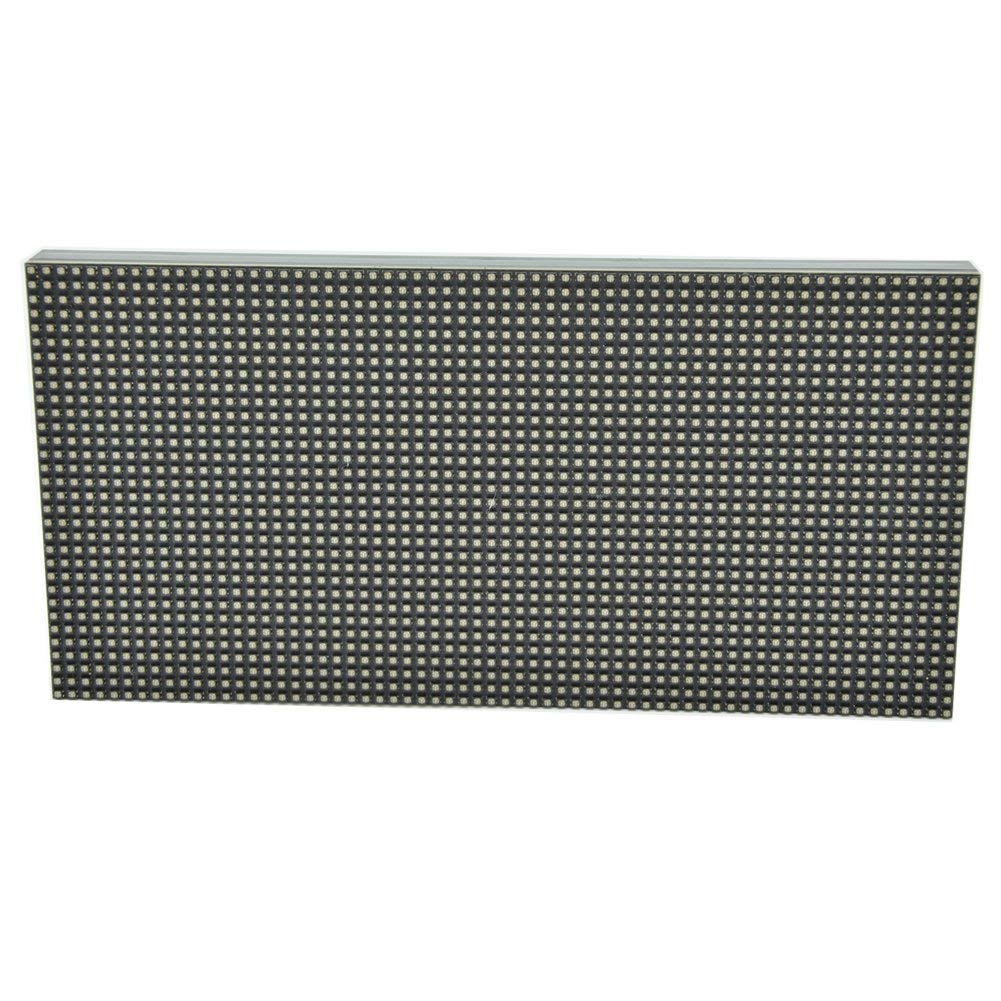
P3 RGBピクセルパネルHDビデオディスプレイ64×32ドットマトリックスSMD LEDディスプレイモジュール192×96mm
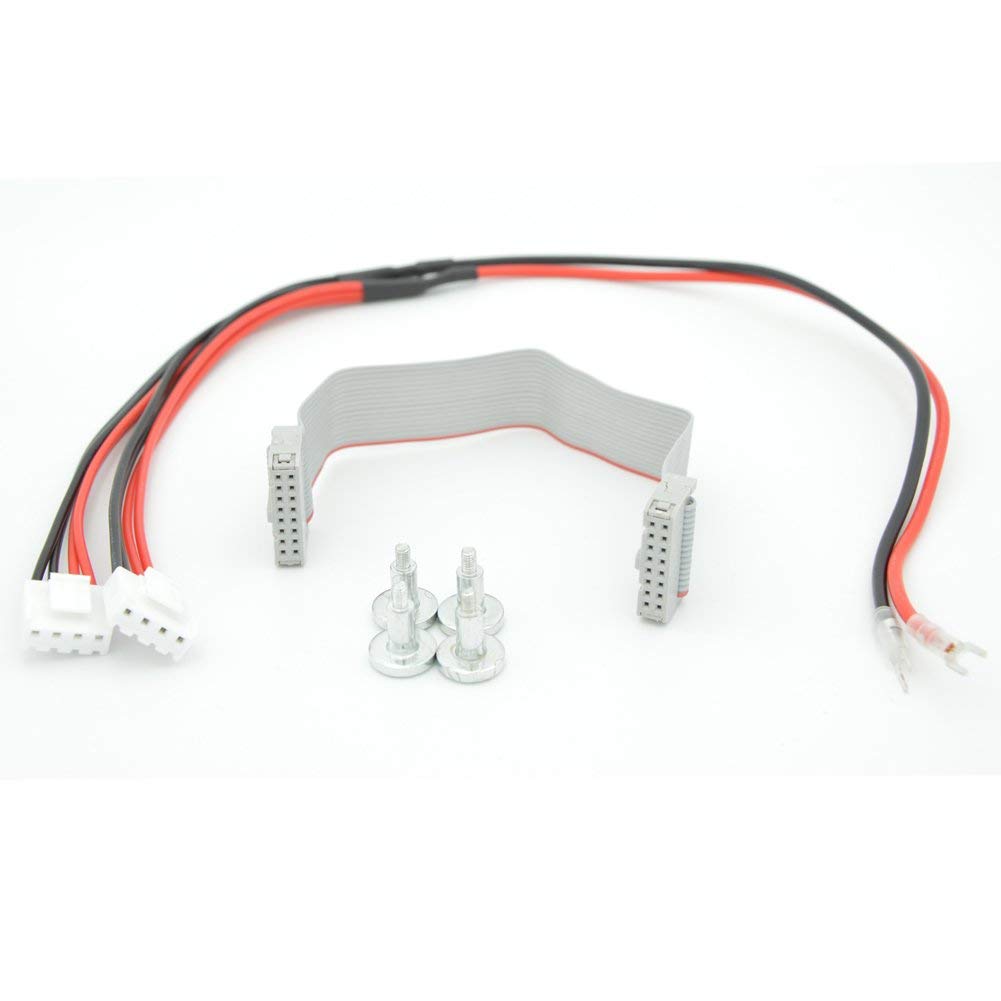
届いた製品内容
ディスプレイ本体。サイズは商品名にもある通り192×96mmです。
ディスプレイの電源用の赤と黒のコード、I/O延長用のケーブル、ディスプレイの裏にねじ込めるマグネットが付属しています。
電源
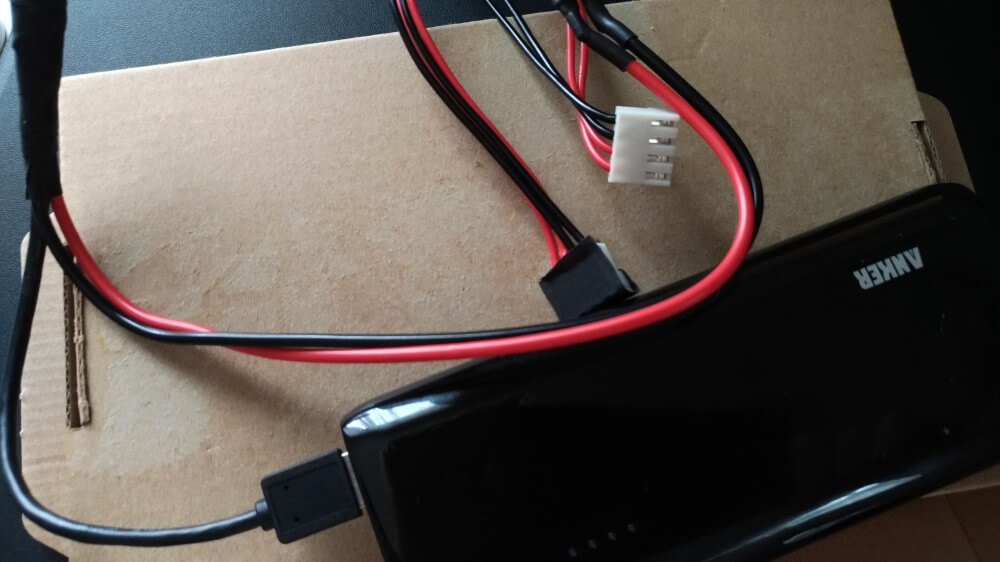
色々見ていると安定して動かすには 5V 2A程度は必要そうでした。ちょうど手元にあったAnker Astro E5という充電器が5V 3Aだったので、これを利用することにしました。こちらは古いのでもう売ってないですが、Amazonで探せばもっと最新の良いのが出てるはずです。これでコンセント無いところでもディスプレイ映せます。

そのあたりに転がっているだろうUSBケーブルを切ると、赤黒緑白の線が出てくると思うので、その中の赤と黒の線を付属の電源コードにはんだ付けして使ってます。
配線図
こちらのライブラリにある手順を利用させていただきます。
詳しくはこちらに記載されています。
https://github.com/hzeller/rpi-rgb-led-matrix/blob/master/wiring.md
ポイントだけ抜き出すと、パネル側のこちらの写真と、
Raspberry Pi側はこちらより引用した以下の図、から😄マークを見ながら配線することになります。
特に上の写真は方向間違いやすいので気をつけてください。
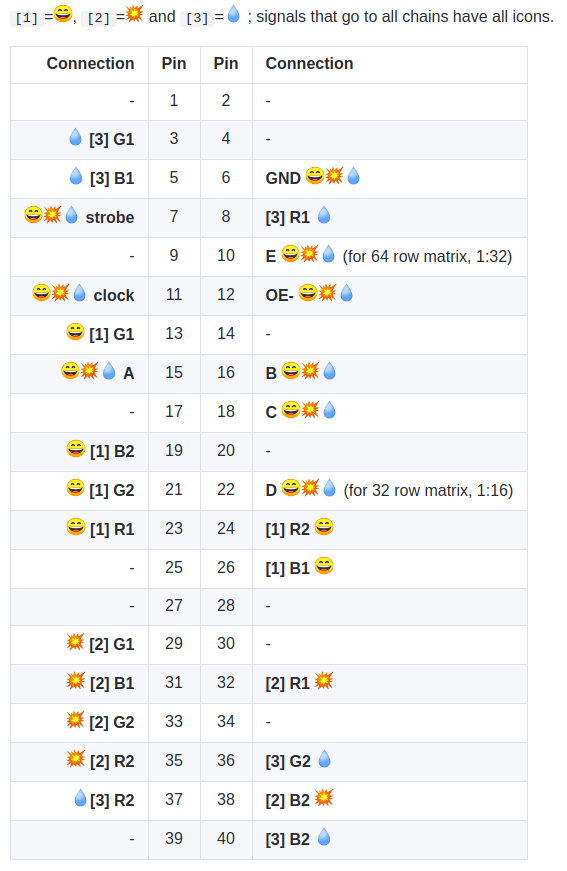
わかりやすく、😄の部分を抜き出すとこうなります。
| Connection | Pin | Pin | Connection |
|---|---|---|---|
| - | 1 | 2 | - |
| - | 3 | 4 | - |
| - | 5 | 6 | GND |
| strobe | 7 | 8 | - |
| GND | 9 | 10 | E |
| clock | 11 | 12 | OE- |
| G1 | 13 | 14 | GND |
| A | 15 | 16 | B |
| - | 17 | 18 | C |
| B2 | 19 | 20 | GND |
| G2 | 21 | 22 | D |
| R1 | 23 | 24 | R2 |
| GND | 25 | 26 | B1 |
| - | 27 | 28 | - |
| - | 29 | 30 | GND |
| - | 31 | 32 | - |
| - | 33 | 34 | GND |
| - | 35 | 36 | - |
| - | 37 | 38 | - |
| GND | 39 | 40 | - |
ライブラリのデモプログラムビルド
引き続きこちらのライブラリ利用します。
Raspberry Pi上でビルドします。
$ git clone https://github.com/hzeller/rpi-rgb-led-matrix.git
$ cd rpi-rgb-led-matrix/
$ make -C examples-api-use
デモプログラム実行
DEMOプログラムのオプションは以下の通り。デモシナリオが複数用意されているのがわかります。
$ sudo examples-api-use/demo
Expected required option -D <demo>
usage: examples-api-use/demo <options> -D <demo-nr> [optional parameter]
Options:
    -D <demo-nr>              : Always needs to be set
    -t <seconds>              : Run for these number of seconds, then exit.
    --led-gpio-mapping=<name> : Name of GPIO mapping used. Default "regular"
    --led-rows=<rows>         : Panel rows. Typically 8, 16, 32 or 64. (Default: 32).
    --led-cols=<cols>         : Panel columns. Typically 32 or 64. (Default: 32).
    --led-chain=<chained>     : Number of daisy-chained panels. (Default: 1).
    --led-parallel=<parallel> : Parallel chains. range=1..3 (Default: 1).
    --led-multiplexing=<0..9> : Mux type: 0=direct; 1=Stripe; 2=Checkered; 3=Spiral; 4=ZStripe; 5=ZnMirrorZStripe; 6=coreman; 7=Kaler2Scan; 8=ZStripeUneven; 9=P10-128x4-Z (Default: 0)
    --led-pixel-mapper        : Semicolon-separated list of pixel-mappers to arrange pixels.
                                Optional params after a colon e.g. "U-mapper;Rotate:90"
                                Available: "Rotate", "U-mapper". Default: ""
    --led-pwm-bits=<1..11>    : PWM bits (Default: 11).
    --led-brightness=<percent>: Brightness in percent (Default: 100).
    --led-scan-mode=<0..1>    : 0 = progressive; 1 = interlaced (Default: 0).
    --led-row-addr-type=<0..2>: 0 = default; 1 = AB-addressed panels; 2 = direct row select(Default: 0).
    --led-show-refresh        : Show refresh rate.
    --led-inverse             : Switch if your matrix has inverse colors on.
    --led-rgb-sequence        : Switch if your matrix has led colors swapped (Default: "RGB")
    --led-pwm-lsb-nanoseconds : PWM Nanoseconds for LSB (Default: 130)
    --led-pwm-dither-bits=<0..2> : Time dithering of lower bits (Default: 0)
    --led-no-hardware-pulse   : Don't use hardware pin-pulse generation.
  --led-slowdown-gpio=<0..2>: Slowdown GPIO. Needed for faster Pis/slower panels (Default: 1).
  --led-daemon              : Make the process run in the background as daemon.
  --led-no-drop-privs       : Don't drop privileges from 'root' after initializing the hardware.
Demos, choosen with -D
    0  - some rotating square
    1  - forward scrolling an image (-m <scroll-ms>)
    2  - backward scrolling an image (-m <scroll-ms>)
    3  - test image: a square
    4  - Pulsing color
    5  - Grayscale Block
    6  - Abelian sandpile model (-m <time-step-ms>)
    7  - Conway's game of life (-m <time-step-ms>)
  8  - Langton's ant (-m <time-step-ms>)
    9  - Volume bars (-m <time-step-ms>)
    10 - Evolution of color (-m <time-step-ms>)
    11 - Brightness pulse generator
Example:
    examples-api-use/demo -t 10 -D 1 runtext.ppm
Scrolls the runtext for 10 seconds
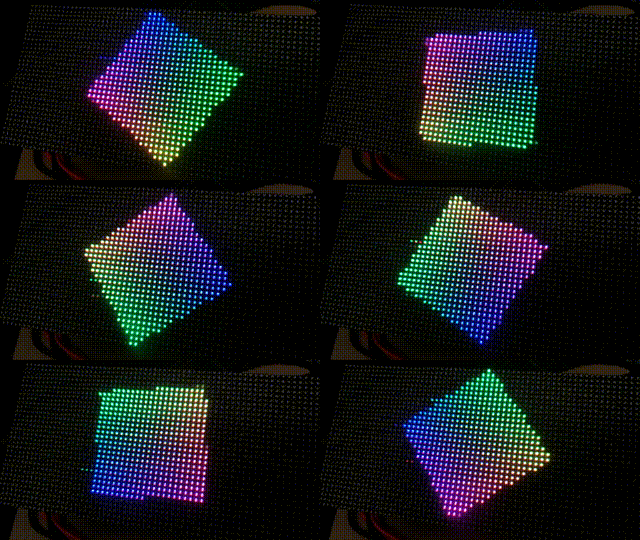
デモシナリオの0番動かしてみたところです。
$ sudo examples-api-use/demo --led-no-hardware-pulse --led-rows=32 --led-cols=64 -D0
以下のコマンドで複数シナリオ順番に動かしてみた動画です。
$ for i in $(seq 5 11);do sudo examples-api-use/demo --led-no-hardware-pulse --led-rows=32 --led-cols=64 -t4 -D${i};done
他にも時計表示できるデモプログラムの clock や、テキスト表示できる text-example なんかが用意されているので、この辺りを応用するだけで色々なことができそうです。
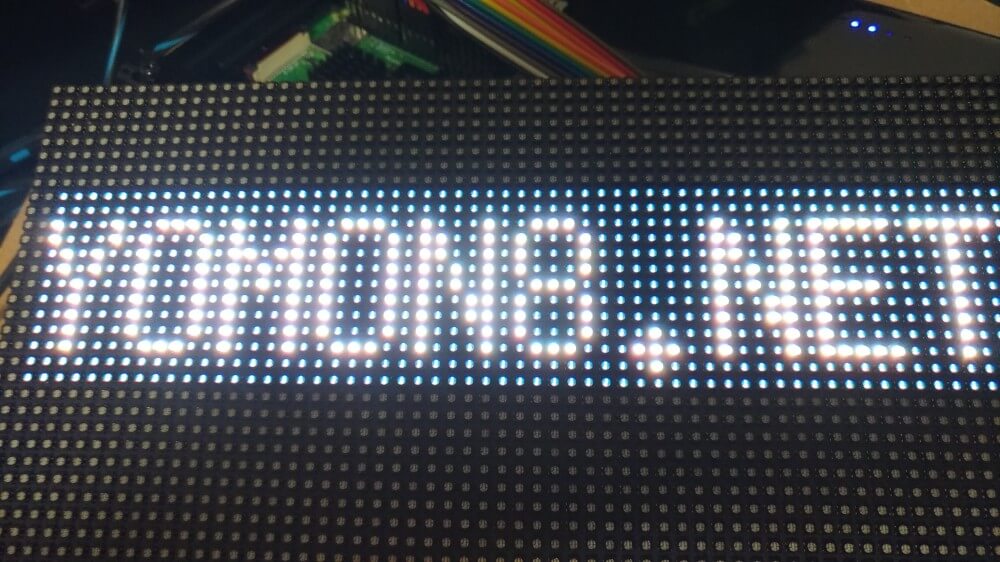
$ sudo ./examples-api-use/text-example --led-no-hardware-pulse  --led-rows=32 --led-cols=64 -f ./fonts/6x13.bdf -y 8 -x 2 -B 17,35,61 -C 247,249,252
Enter lines. Full screen or empty line clears screen.
Supports UTF-8. CTRL-D for exit.
YOMON8.NET
C++苦手な人でも、C、Python、Node.js、Golang、Rustなど、他の言語のバインディングが存在しているので利用させてもらう手もありかと思います。
https://github.com/hzeller/rpi-rgb-led-matrix#api
大変ありがたい。
