Gem in a Boxを使って、Dockerでローカル環境にRubyGemsを構築して、Gemをアップロードするところまで書きます。
Gem in a Boxは公式でも以下の RUNNING GEM IN A BOX の項目で紹介されてます。
Run your own gem server - RubyGems Guides
- 作業前提
- Dockerfile作成
- 設定ファイル準備(config.ru)
- 設定ファイル準備(Gemfile)
- Dockerイメージのビルド
- Gem in a Boxの起動
- テスト用のGemを作成してアップロードしてみる
- Gemを利用してみる
作業前提
この手順を実行するために必要なのは、DockerとGitだけです。
- Docker
- Git
テスト用のGem作ってアップロードする手順にしているので、Gem作る環境ではRubyのインストールが必要です。
Dockerfile作成
ワークディレクトリ作成して、Dockerfileを作成します。 Dockerfileはgeminaboxのリポジトリの中のものと同じです。
https://github.com/geminabox/geminabox/blob/master/Dockerfile
WORK_DIR=./work
mkdir ${WORK_DIR} &&  cd ${WORK_DIR}/
cat <<EOF >./Dockerfile
FROM ruby:2.4.3

RUN mkdir -p /usr/src/app
WORKDIR /usr/src/app

COPY . /usr/src/app
RUN bundle install

EXPOSE 9292

ENTRYPOINT ["rackup", "--host", "0.0.0.0"]
EOF
設定ファイル準備(config.ru)
geminaboxの設定ファイルを準備します。
ここでは、GithubのWiki上にあった内容を調整して、アップロートと削除にBasic認証入れる方式を設定してます。
DATA_DIR=/data/gems
USERNAME='user'
PASSWORD='Passw0rd'


cat <<EOF > ./config.ru
require "rubygems"
require "geminabox"

Geminabox.data = "${DATA_DIR}"

Geminabox::Server.helpers do
  def protected!
    unless authorized?
      response['WWW-Authenticate'] = %(Basic realm="Geminabox")
      halt 401, "No pushing or deleting without auth.\n"
    end
  end

  def authorized?
    @auth ||=  Rack::Auth::Basic::Request.new(request.env)
    @auth.provided? && @auth.basic? && @auth.credentials && @auth.credentials == ['${USERNAME}', '${PASSWORD}']
  end
end

Geminabox::Server.before '/upload' do
  protected!
end

Geminabox::Server.before do
  protected! if request.delete?
end

use Rack::Session::Pool, expire_after: 1000 # sec
use Rack::Protection

run Geminabox::Server
EOF
設定ファイル準備(Gemfile)
以下の通りGemfileを準備します。
cat <<EOF > ./Gemfile
source 'https://rubygems.org'

gem 'geminabox'
EOF
Dockerイメージのビルド
ワークフォルダでイメージをビルドします。
docker build -t geminabox .
Gem in a Boxの起動
Geminabox.data = "${DATA_DIR}" でGemをボリュームに保存する設定としながら起動します。80でLISTENしてみます。
DATA_DIR=/data/gems
docker run -d -v ruby_gems:${DATA_DIR} -p 80:9292  --restart always geminabox:latest
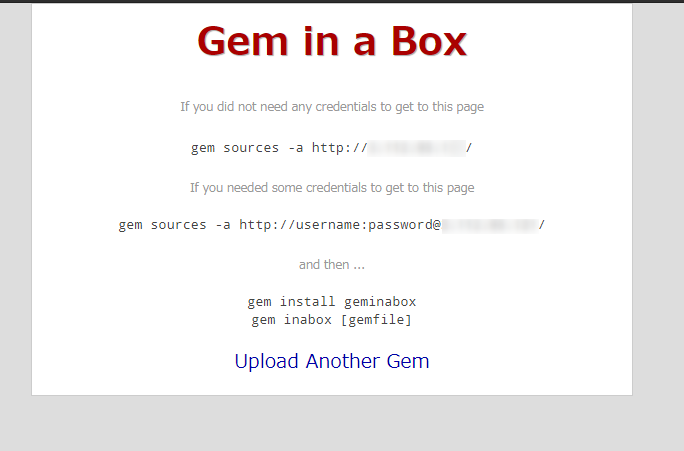
ブラウザからアクセスして、以下のような画面が表示されることを確認します。
http://{Your IP Address or Hostname}/

テスト用のGemを作成してアップロードしてみる
簡単なGemを作成してアップロードしてみます。
ここでは、Hello Worldを出力するテスト用のRuby Gemを作成します。Rubyがインストールされている環境で作業します。
Bundlerでテンプレート出力
bundlerでgemのテンプレートを出力します。
$ bundle gem my_helloworld
Creating gem 'my_helloworld'...
      create  my_helloworld/Gemfile
      create  my_helloworld/lib/my_helloworld.rb
      create  my_helloworld/lib/my_helloworld/version.rb
      create  my_helloworld/my_helloworld.gemspec
      create  my_helloworld/Rakefile
      create  my_helloworld/README.md
      create  my_helloworld/bin/console
      create  my_helloworld/bin/setup
      create  my_helloworld/.gitignore
Initializing git repo in /mnt/c/Users/seban/my_helloworld
Gem 'my_helloworld' was successfully created. For more information on making a RubyGem visit https://bundler.io/guides/creating_gem.html
テンプレート調整
テンプレートのディレクトリに移動します。
$ cd my_helloworld/
今回は以下のようなgemspecで置き換えます。
$ cat <<EOF > ./my_helloworld.gemspec
lib = File.expand_path("lib", __dir__)
\$LOAD_PATH.unshift(lib) unless \$LOAD_PATH.include?(lib)
require "my_helloworld/version"

Gem::Specification.new do |spec|
  spec.name          = "my_helloworld"
  spec.version       = MyHelloworld::VERSION
  spec.authors       = ["yomon8"]

  spec.summary       = "my_helloworld"
  spec.description   = "my_helloworld"

  spec.files         = Dir.chdir(File.expand_path('..', __FILE__)) do
    \`git ls-files -z\`.split("\x0").reject { |f| f.match(%r{^(test|spec|features)/}) }
  end
  spec.bindir        = "exe"
  spec.executables   = spec.files.grep(%r{^exe/}) { |f| File.basename(f) }
  spec.require_paths = ["lib"]

  spec.add_development_dependency "bundler", "~> 2.0"
  spec.add_development_dependency "rake", "~> 10.0"
end
EOF
Hello World を出力する処理にします。
cat <<EOF > ./lib/my_helloworld.rb
require "my_helloworld/version"

module MyHelloworld
  class << self
    def hello
      puts "Hello world"
    end
  end
end
EOF
Gemのビルドとアップロード
引き続き、 my_helloworld ディレクトリで作業します。
Gemをビルドします。
$ rake build
my_helloworld 0.1.0 built to pkg/my_helloworld-0.1.0.gem.
出力されたファイルを確認します。
$ ls pkg/
my_helloworld-0.1.0.gem
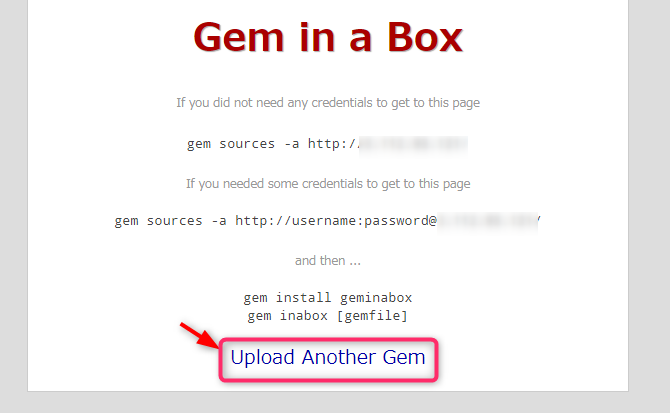
Gemのアップロード

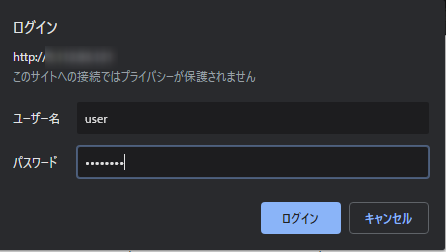
アップロードにはBasic認証がかかっていることがわかります。 config.ru で設定したユーザ名とパスワードでログインします。

先程、ビルドしたGemファイルをアップロードします。

以下のようなメッセージが表示されます。
Gem my_helloworld-0.1.0.gem received and indexed.
トップページにいくと、アップロードしたGemが確認できます。

Gemを利用してみる
DockerのRubyのイメージ使って動作確認してみます。
$ docker run -it --rm ruby:alpine /bin/sh
先程のテスト用Gemをインストールしようとすると当然インストールできません。
/ # gem install my_helloworld
ERROR:  Could not find a valid gem 'my_helloworld' (>= 0) in any repository
ERROR:  Possible alternatives: helloworld, rs-helloworld, Hello__World, bj_hello_world, jb-helloworld
sourceとしてgeminaboxサーバーを追加します。
/# gem source -a http://xx.xx.xx.xx
http://xx.xx.xx.xx added to sources
これでインストールできます。
/# gem install my_helloworld
Fetching my_helloworld-0.1.0.gem
Successfully installed my_helloworld-0.1.0
1 gem installed
ちゃんと動くこと確認できました。
/# ruby -rmy_helloworld  -e 'MyHelloworld::hello'
Hello world